-
info@wheelspeedsensor.com
-
578-393-4937
-
447 Broadway 2nd floor, New York, NY 10013, United States

How to Replace a Wheel Speed Sensor: Step-by-Step Guide
A clear step-by-step guide to replacing a wheel speed sensor, including tools, safe removal, installation, torque tips, and testing the repair.
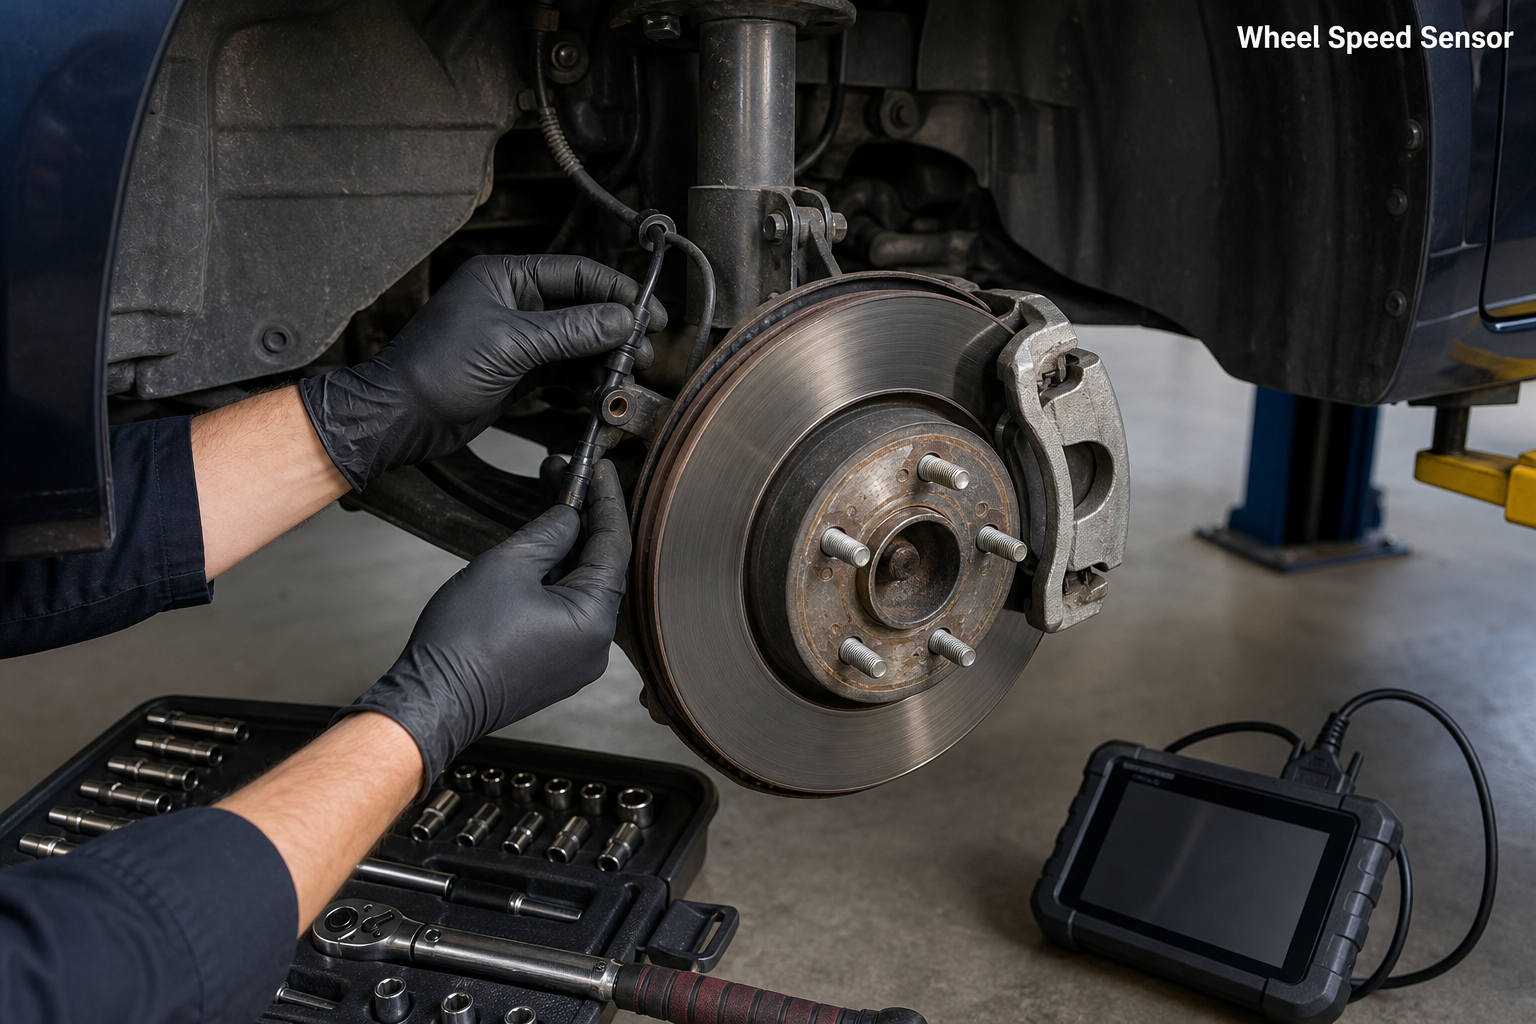
A failed wheel speed sensor can take away ABS, traction control, and a steady speedometer reading. The repair is often a single bolt, a connector, and a few careful steps. This guide shows you how to replace wheel speed sensor parts with a clear tool list, a safe sequence, and a test plan that confirms the job. If you can change a brake pad and use a torque wrench, you can handle many of these replacements at home.
When Replacement Is the Right Call
Replace the sensor when the tests point to the sensor itself. Common signs include an open coil, a cracked or worn tip, a broken connector that cannot be repaired, or a sensor that produces no signal while the circuit is good.
Do not replace the sensor just because a code mentions it. A dirty tone ring, a worn bearing, or a damaged wire can set the same code. Test the circuit first. If the sensor is built into the hub bearing, the whole hub may need replacement. Confirm the design before you order parts.
Tools and Parts You Need
Gather these tools before you start:
- Jack and jack stands
- Lug wrench or impact wrench
- Socket set, including the size for the sensor bolt
- Torx or hex bits if the sensor uses them
- Penetrating oil
- Soft brush and lint-free cloth
- Electronics cleaner
- Dielectric grease
- Torque wrench
- Scan tool
- Safety glasses and gloves
You will also need the correct replacement sensor. Match the part to the make, model, year, and system. Compare the connector shape, the mounting depth, and the part number with the old sensor. If the new part looks different, stop and confirm the application before you install it.
Safety Setup
Park on a level, solid surface. Set the parking brake and chock the wheels that stay on the ground. Loosen the lug nuts before you lift the car. Raise the vehicle at the correct lift points and support it on jack stands. Never work under a car held only by a jack.
Check your service information for battery isolation steps. Some makers want the negative terminal disconnected before you unplug an ABS sensor. Others have a module sleep procedure. Follow the maker’s directions. Wear safety glasses, especially when you are working under a wheel arch.
Step 1: Locate the Sensor and Connector
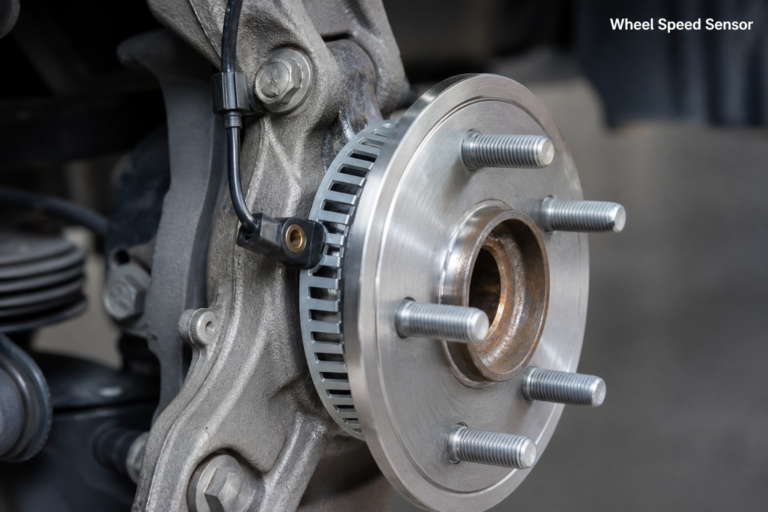
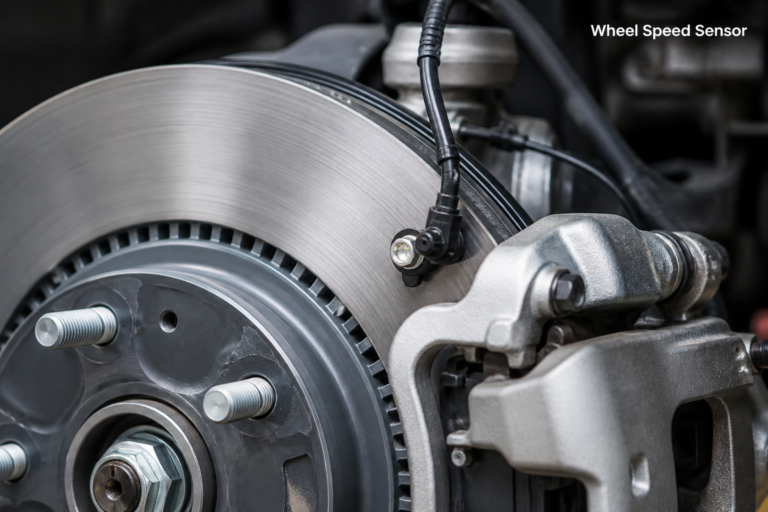
The wheel speed sensor is usually mounted at the hub, the steering knuckle, the backing plate, or the axle flange. On a front wheel, turn the steering to give yourself room. On a rear wheel, you may need to remove the wheel or reach behind the brake assembly.
Follow the sensor lead to its connector. The connector may be clipped to the body or the suspension. Take a photo of the routing before you unclip anything. That photo is your map for reassembly.
Step 2: Disconnect the Battery and Connector
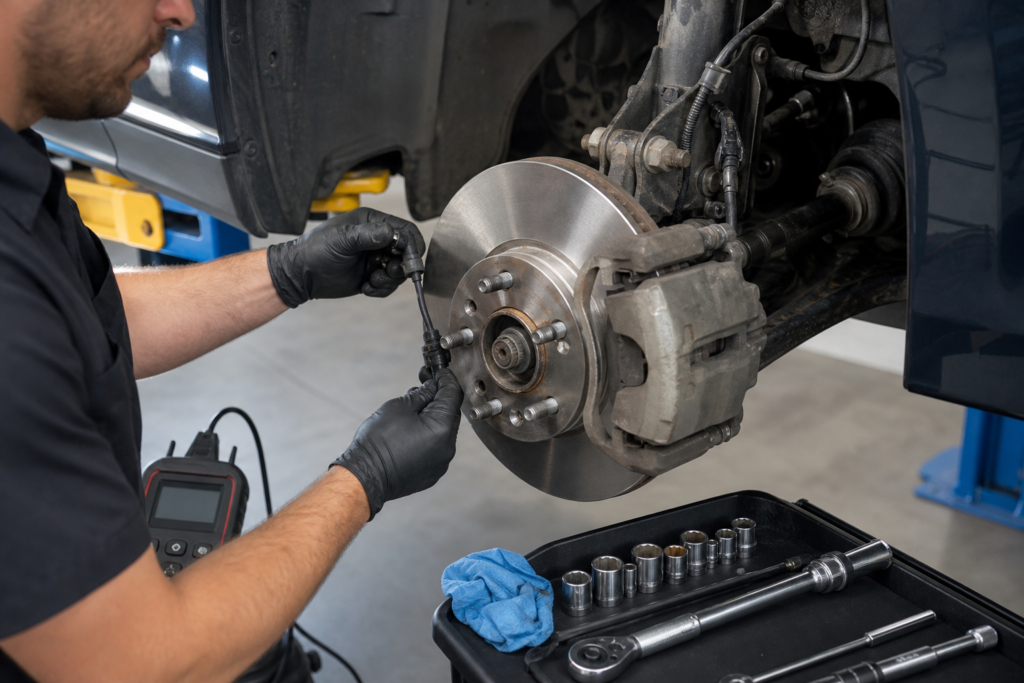
If the service information calls for it, disconnect the negative battery terminal. Wait the recommended time before you unplug the sensor. This step protects the module and avoids setting extra codes.
Clean the area around the connector with a dry brush. Press the locking tab and pull the connector straight apart by the housing. Do not pull on the wires. If the connector is stubborn, wiggle it gently. A broken lock tab is a common reason a new sensor still acts up, so treat the connector with care.
Step 3: Remove the Mounting Bolt
Most sensors are held by a single bolt. Apply penetrating oil and let it sit if the bolt is rusty. Use the correct socket or bit and keep it square to the bolt. A rounded bolt turns a simple job into a long one.
If the sensor is held by a bracket, remove the bracket bolts and note their positions. Keep the hardware in a tray. Some sensors use a plastic clip instead of a bolt; release the clip without forcing it.
Step 4: Remove the Old Sensor
Pull the sensor straight out of the bore. If it is stuck, twist it gently by the body. Do not pry against the knuckle or the backing plate with a screwdriver. That can crack the sensor or damage the sealing surface.
If the sensor breaks off in the bore, stop and assess the remaining piece. A small pick or a screw extractor may help, but do not drill into the hub without a plan. On a seized sensor, a shop may be the safer choice.
Step 5: Inspect and Clean the Bore and Tone Ring
Clean the bore with a cloth and electronics cleaner. Remove rust, brake dust, and metal debris. The new sensor must seat fully. A bore with debris can hold the sensor out, which increases the air gap and weakens the signal.
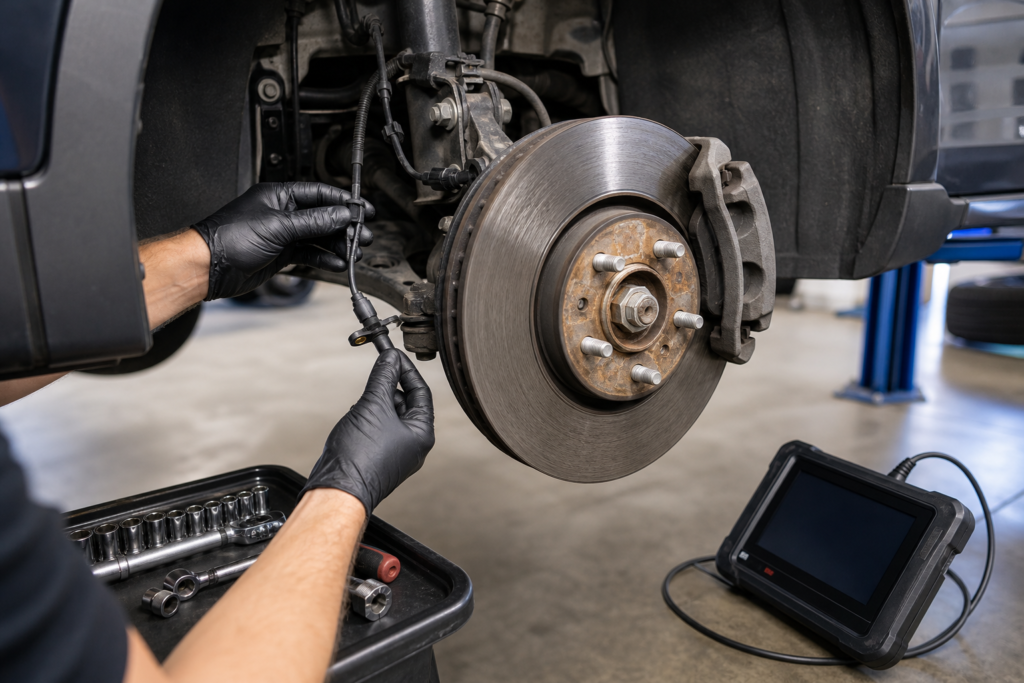
Inspect the tone ring or encoder. Look for missing teeth, cracks, heavy rust, and wobble. On a magnetic encoder, use a cloth only. Do not use a metal brush, a magnet, or compressed air. Check the wheel bearing for play by rocking the wheel. If the bearing is loose, replace it before you install the new sensor.
Brake & Front End’s hub unit diagnostics makes a useful point: a wheel speed code can come from bearing play or encoder damage, not just the sensor. That is why this inspection matters. PMM’s diagnostic guide puts it even more directly: a fault code alone can lead you down the wrong track, so test before you replace.
Step 6: Install the New Sensor
Compare the new sensor with the old one. Check the length, the connector key, and the O-ring. Lubricate the O-ring with a small amount of clean silicone grease if the service information allows it. Do not use brake fluid or petroleum grease on the seal.
Insert the sensor straight into the bore. Seat it fully by hand. Start the bolt by hand to avoid cross-threading, then tighten it with a torque wrench. If no torque figure is available, use a snug turn with a small ratchet. Many sensor bolts are small and easy to overtighten. A typical spec on some models is around 7 ft-lb, but always confirm the figure for your vehicle.
Step 7: Route and Connect the Wiring
Route the new lead along the original path. Reinstall every clip and retainer. Keep the wire away from the tire, the brake hose, and moving suspension parts. On a front wheel, turn the steering lock to lock and watch the lead. It should have a little slack at both ends, with no stretching or rubbing.
Plug the connector in until it clicks. Tug it gently to confirm it is seated. Apply a thin film of dielectric grease to the weather seal if the maker calls for it. Do not pack the pins with grease.
Step 8: Reassemble and Test
Reinstall the wheel and torque the lug nuts in a star pattern. Lower the car. Reconnect the battery if you disconnected it. Start the engine and check that the ABS light behaves as expected.
Connect the scan tool and clear the codes. Take a short test drive at low speed, then a steady drive at highway speed. Watch the live wheel-speed data. The repaired wheel should match the others. If the light returns, recheck the connector, the sensor seating, the tone ring, and the bearing. Some vehicles need a drive cycle before the ABS light resets.
Torque and Fit Tips
- Use the maker’s torque figure for the sensor bolt. Small bolts strip easily.
- Do not add anti-seize unless the maker allows it. It can change the torque reading.
- Keep grease off the sensing tip.
- Make sure the sensor seats flush. A partial seat is a common cause of a weak signal.
- Replace a damaged connector rather than forcing the old one back on.
- Check the tone ring before you install the new sensor. A new sensor cannot fix a missing tooth.
Replacement at a Glance
Step | Key tool | Tip
|
Locate the sensor | Flashlight | Follow the lead to the connector |
Disconnect | Pick or small screwdriver | Press the tab; pull the housing |
Remove the bolt | Correct socket or Torx | Penetrating oil helps on rust |
Remove the sensor | Your hand | Twist gently; do not pry |
Clean the bore | Cloth and cleaner | A flush seat matters |
Install the new part | Torque wrench | Start the bolt by hand |
Route the lead | New clips if needed | Check lock to lock |
Test the repair | Scan tool | Compare all four wheel speeds |
Frequently asked questions
How long does it take to replace a wheel speed sensor?
A typical sensor replacement takes about 45 minutes to 2 hours. A rusted bolt, a seized sensor, or a hub-mounted design can add time. Plan for more if you are working outside in poor weather.
Do I need to remove the wheel?
Many front sensors can be reached with the wheel turned, but removing the wheel gives you more room and a better view. Rear sensors often need the wheel off. Follow the access procedure for your vehicle.
Do I have to disconnect the battery?
Check the service information. Many makers recommend disconnecting the negative terminal before unplugging an ABS sensor. It protects the module and avoids extra codes. If you disconnect it, follow the maker’s steps for restoring power.
Can I replace just the sensor if the hub is bad?
No. If the encoder ring or bearing is damaged, a new sensor will not fix the signal. Replace the hub or bearing as the maker recommends. A wheel speed code is a clue, not proof that the sensor is at fault.
Why is the ABS light still on after replacement?
The module may need a drive cycle, or the code may not have been cleared. Recheck the connector, the sensor seating, the tone ring, and the bearing. If the light stays on, scan the system again before replacing more parts.
A careful replacement pays off
Replacing a wheel speed sensor is a satisfying job when you take it step by step. Match the part, keep the bore clean, route the wire like the factory did, and confirm the repair with live data. Those habits prevent repeat failures and protect the ABS system.
If you are still deciding whether to repair or replace, the guide to speed sensor replacement compares the options. For a budget view before you buy, see the article on speed sensor cost. And if the new sensor does not solve the code, do not guess. Test the circuit with a meter before you spend more.