-
info@wheelspeedsensor.com
-
578-393-4937
-
447 Broadway 2nd floor, New York, NY 10013, United States

How to Fix a Speed Sensor: Diagnosis, Cleaning & Replacement
A speed sensor warning doesn't always mean replacement. Learn how to diagnose, clean, repair wiring, and replace only when tests confirm the fault.
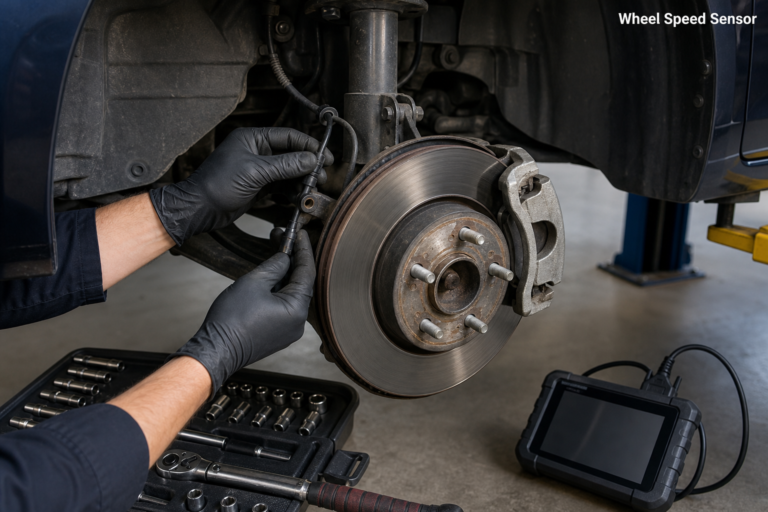
A speed sensor warning does not always mean the sensor has failed. Many faults come from a dirty tip, a corroded connector, or a wire that has rubbed through. That is good news. It means the fix may be simpler and cheaper than a parts bill suggests. This guide explains how to fix speed sensor problems with a clear decision tree: diagnose first, clean when it fits, repair the wiring when needed, and replace the part only when the tests point there.
Start With the Right Diagnosis
Begin with the code and the complaint. A scan tool can tell you which circuit the module has flagged. It can also show live wheel-speed data while you drive or spin a wheel. Those two pieces of information narrow the search to one corner or one sensor.
Do not stop at the code. A code tells you where the module sees a problem, not which part caused it. The fault could be the sensor, the connector, the wiring, the tone ring, the bearing, or the module itself. Brake & Front End’s circuit-first guide makes this point well: test the circuit before replacing the hub or sensor. PMM’s diagnostic guide adds a useful warning: going off fault codes alone can lead you down the wrong track.
A simple diagnosis sequence looks like this:
- Record every code, including ABS, traction, and transmission codes.
- Watch live wheel-speed data for a wheel that drops out or reads differently.
- Inspect the sensor, connector, wiring, tone ring, and bearing.
- Test the electrical circuit with the right method for the sensor type.
- Repair or replace only what the tests show.
That sequence keeps you from replacing a good sensor because of a bad connector.
The Three Main Fixes
Most speed sensor repairs fall into one of three groups:
- Cleaning: the sensor and tone ring are intact but dirty.
- Wiring repair: the sensor is good but the connector or lead is damaged.
- Replacement: the sensor, tone ring, or hub has failed.
Each fix has a clear place. The skill is in choosing the right one.
Fix 1: Clean the Sensor and Tone Ring
Cleaning is the first stop when the fault is intermittent or the sensor area is visibly dirty. Remove the sensor if you need access. Wipe the tip with a lint-free cloth and electronics cleaner. Clean the tone ring with a soft brush. Check for missing teeth, cracks, and heavy rust.
Do not scrape the sensor face or use a magnet on it. Do not use brake cleaner on plastic parts. Let everything dry before you reassemble. Clear the codes and check the live data. If the wheel reads normally and the light stays off, you are done.
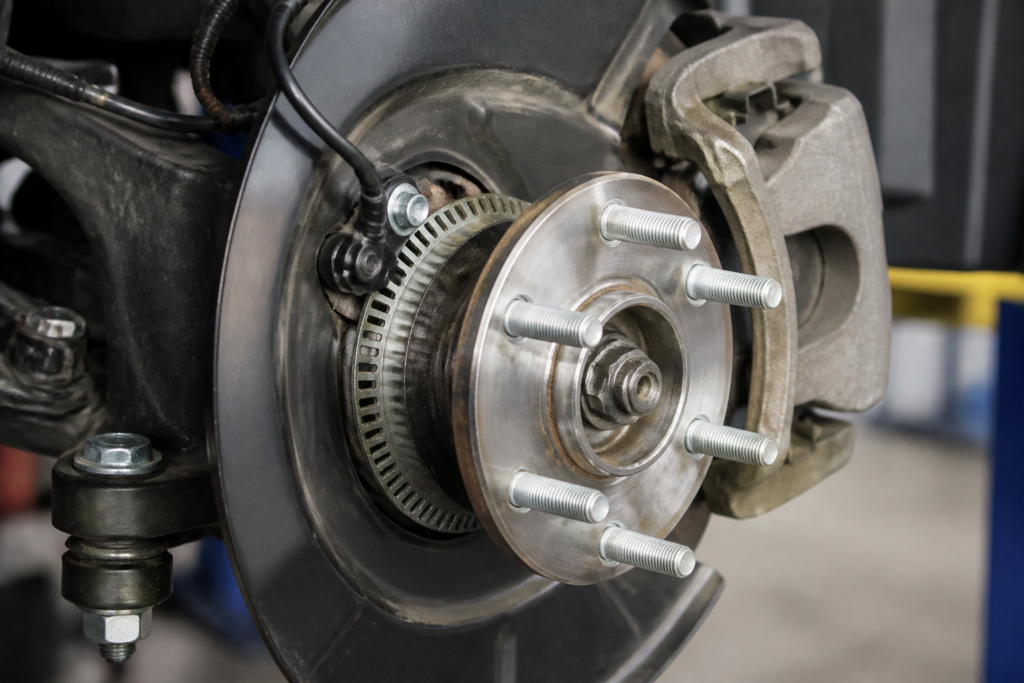
Cleaning works best on older vehicles with exposed tone rings. It is less likely to help when the sensor is sealed into a hub bearing or the code is steady at all speeds. In those cases, move to the electrical tests.
Fix 2: Repair the Connector or Wiring
A connector can fail in several ways. The pins can corrode, bend, or back out of the housing. The lock tab can break, letting the connector work loose. The wire can chafe against the suspension or the body. Any of these can produce an open circuit or an intermittent signal.
Inspect the connector with a light and a magnifier. Look for green corrosion, dark spots, and pins that sit lower than the others. Gently tug each wire to confirm it is crimped. If a pin is damaged, replace the terminal or the connector with the correct repair part. Do not fill the connector with grease. A thin film on the weather seal is enough.
For a chafed wire, repair the damaged section with a proper splice, heat-shrink tubing, and a new section of wire. Match the wire gauge and use a sealed connector if the repair sits in a wet area. If the damage is deep inside the sensor lead, replace the sensor instead. A solder joint in a flexing lead can fail again.
Fix 3: Replace the Sensor
Replacement is the right call when the sensor has an open coil, a cracked tip, or no output during a valid test. It is also the right call when the sensor is physically damaged or seized in the bore.
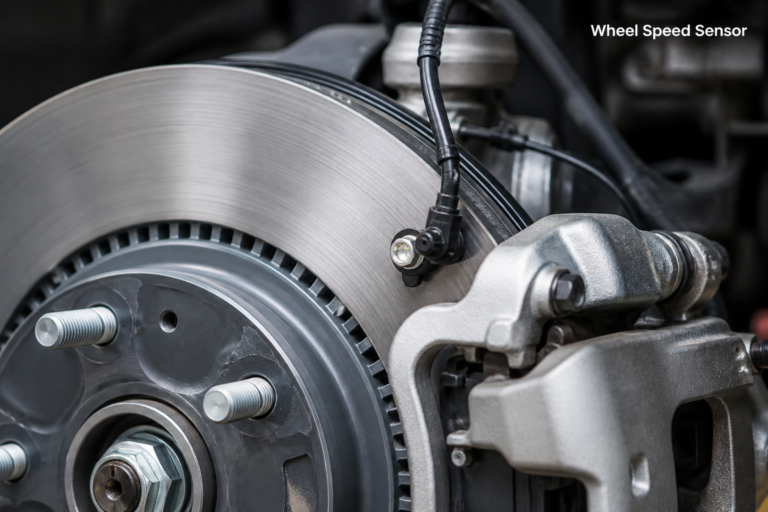
Match the new part to the vehicle and the system. Two sensors that look alike can have different resistance values or output types. Compare the connector shape, the mounting depth, and the part number. Install the sensor with a new O-ring if one is supplied. Torque the bolt to the manufacturer’s specification, route the lead along the original path, and reconnect the plug until it clicks.
After replacement, clear the codes and drive the car. Watch the live data at low speed and at highway speed. The repaired wheel should track the others. If the code returns, recheck the connector, the tone ring, and the bearing before you assume the new part is faulty.
What About the Hub, Tone Ring, or Bearing?
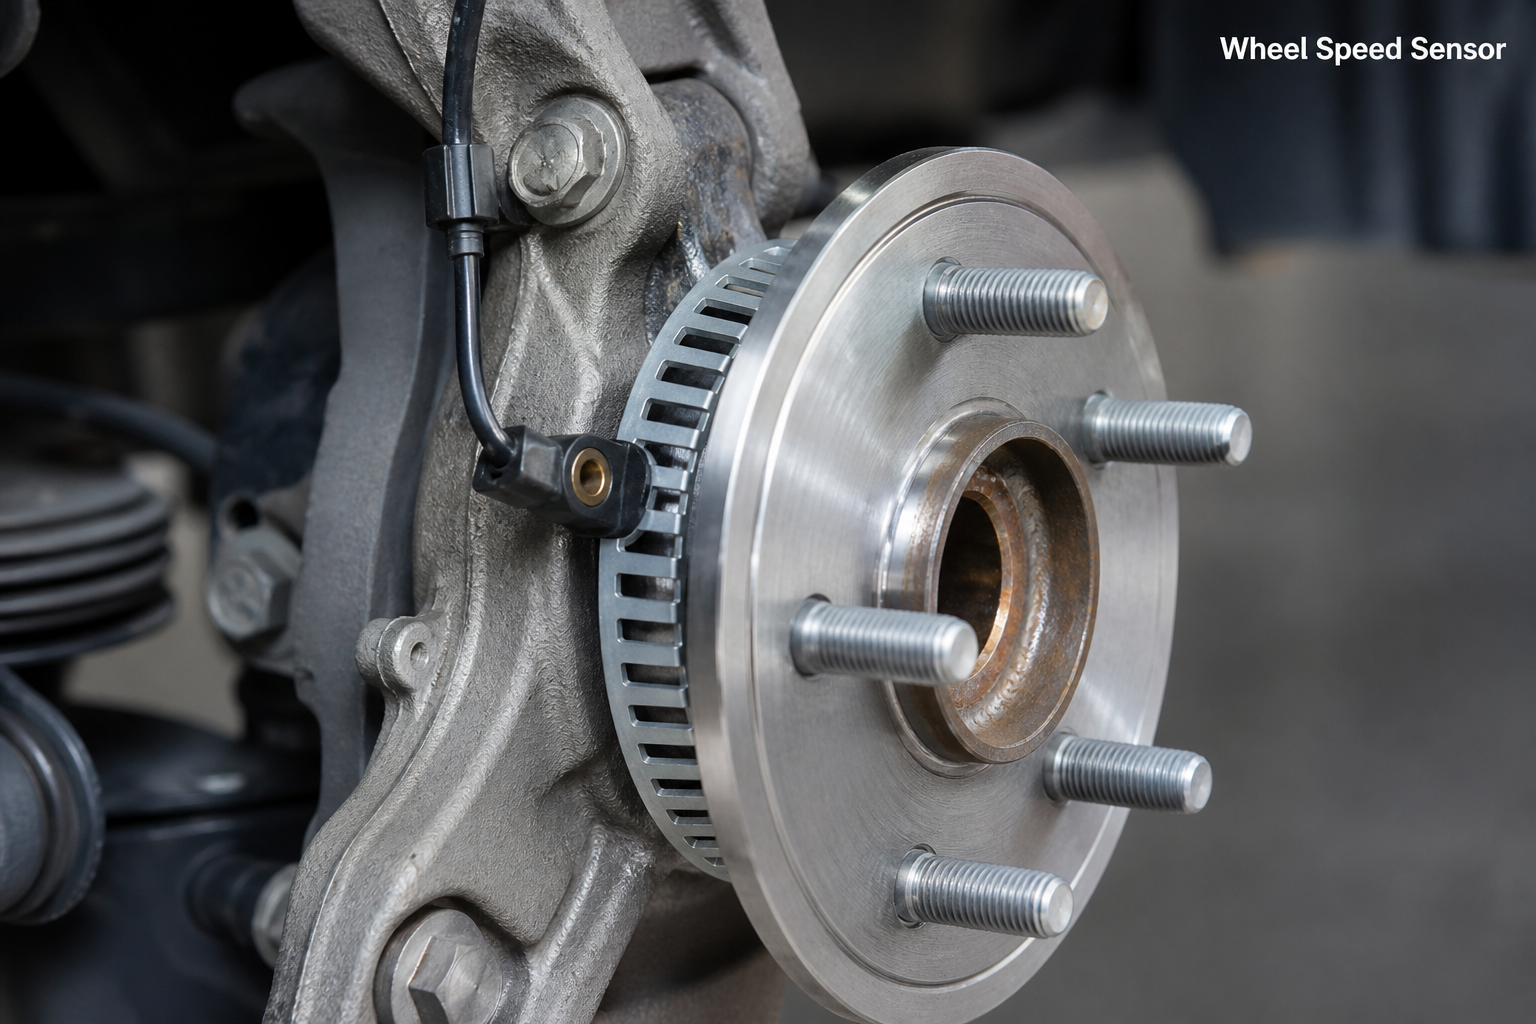
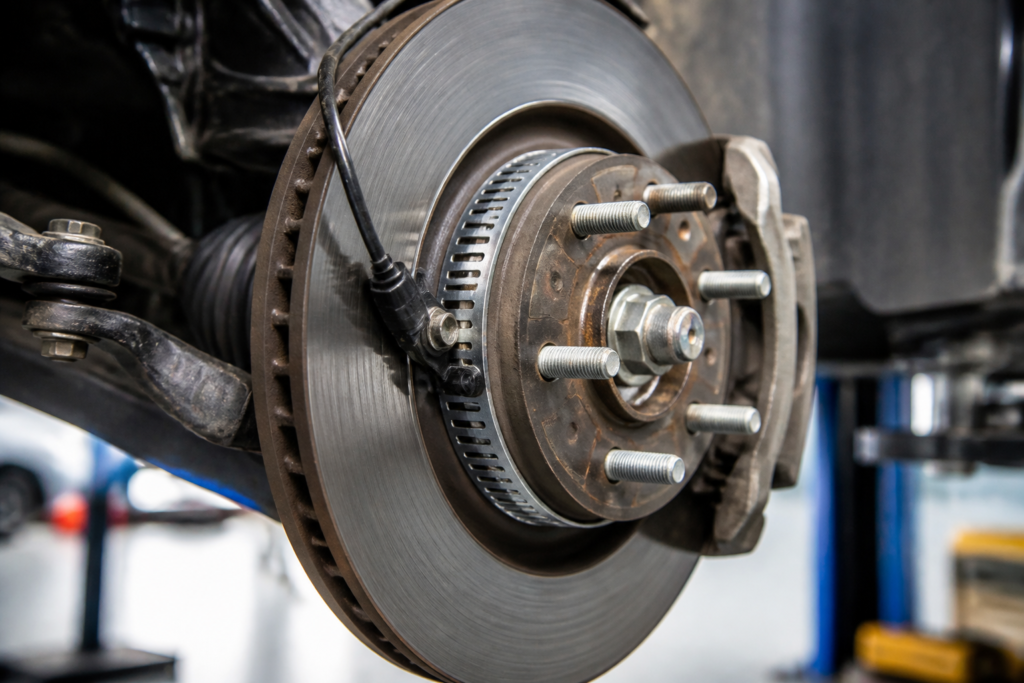
Some wheel speed sensors are built into the hub bearing assembly. If the encoder ring inside the bearing is damaged, a new sensor will not fix the problem. The hub must be replaced as a unit. This is common on modern vehicles, especially those with active sensors and sealed bearings.
A worn bearing can also cause a speed signal fault. The play lets the hub move, which changes the air gap as the wheel turns. The scan tool may show a signal that comes and goes, or a code for an erratic signal. Check for play by rocking the wheel at the top and bottom. If the bearing is loose or noisy, plan to replace it.
A tone ring with a missing tooth or a crack is another replacement case. On some vehicles, the ring is a separate part. On others, it is part of the hub or axle. Inspect it carefully before you order parts.
When a Shop Makes Sense
Some jobs are better left to a shop. A sensor that is seized in the bore, a connector that needs a specialized repair, or a fault that points to the ABS module can take tools and experience. Transmission speed sensors may sit inside the case, which means fluid drain and pan removal. A shop can also perform module coding or calibration when the service information calls for it.
Get a written estimate that lists the diagnostic step, the part, and the labor. Ask whether the shop will test the circuit before replacing the sensor. A good shop will explain why the part is needed.
Fixes at a Glance
Problem | Best fix | Why
|
Dirty sensor tip or tone ring | Clean and retest | Restores the air gap and removes false gaps |
Corroded or loose connector | Repair or replace the terminal | Restores a stable electrical connection |
Chafed wire | Splice with a sealed repair | Prevents an open circuit in wet conditions |
Open coil or cracked sensor | Replace the sensor | The sensing element cannot be repaired |
Damaged encoder ring or hub | Replace the hub assembly | The ring is often part of the bearing |
Worn wheel bearing | Replace the bearing or hub | Bearing play changes the air gap |
A Simple Decision Tree
Start with the code and live data. If one wheel is slow or dead, inspect that corner. If the sensor and ring are dirty, clean them and retest. If the signal is still wrong, test the circuit. A passive sensor should show resistance and AC voltage while spinning. An active sensor should show reference voltage and a switching signal. If the circuit is good but the sensor is not, replace the sensor. If the circuit is bad, repair the wiring. If the hub or bearing is loose or damaged, replace the assembly.
That order saves parts. It also gives you a record of what you checked, which helps if you later need to explain the repair to a shop.
Frequently asked questions
Can a speed sensor be repaired instead of replaced?
Sometimes. Cleaning the tip and tone ring can restore a dirty sensor. A damaged connector or wire can be repaired if the sensor itself is good. A sensor with an open coil or a cracked tip must be replaced.
How much does it cost to fix a speed sensor?
The cost depends on the fix. Cleaning costs little beyond your time. A connector repair is inexpensive. A replacement sensor and labor can range from about $100 to $400 per wheel, depending on the vehicle and the shop. Treat those figures as planning estimates.
Will a speed sensor fix itself?
No. A dirty sensor may work again after the debris falls away, but the fault will likely return. A failing sensor or damaged wire will not repair itself. Diagnose the cause and fix it properly.
Do I need a scan tool to fix a speed sensor?
A scan tool makes the job much easier. It reads the codes, shows live wheel-speed data, and clears the codes after the repair. Some basic repairs can be done without one, but you will have less information to work with.
Can I drive after fixing a speed sensor?
Yes, if the brakes feel normal and the warning light stays off after a short test drive. If the ABS light returns or the pedal feels strange, stop and recheck the repair. Have the system inspected if you are unsure.
Most speed sensor fixes are simpler than they look
A speed sensor repair starts with good information. Read the codes, watch the live data, and inspect the whole path. Clean what is dirty, repair what is damaged, and replace only what has failed. That approach protects your budget and gives you a repair you can trust.
If the warning light is your starting point, the guide to speed sensor symptoms helps you match the sign to the system. The article on speed sensor codes explains what the numbers mean. And when replacement is the right answer, the guide to speed sensor replacement walks through the job from start to finish.